Looking for a new opportunity as DevOps engineer
I am currently seeking a new opportunity as a DevOps Engineer, available from February 2026. I am open to remote or hybrid work from Prague, Czechia (Europe), for a long-term, full-time position or B2B contract - 300 EUR / daily. Please feel free to contact me for further details. You can also review my professional background on my LinkedIn profile.
AD Converter PCF8591 for Raspberry Pi
Have you ever wondered how to measure battery voltage with a Raspberry Pi? The PCF8591 ADC (Analog-to-Digital Converter) module, which can be purchased for as little as 2 USD, provides a simple solution for measuring analog voltages via I2C on your Raspberry Pi. This tutorial explains how it works, how to deal with higher voltages like those from a lead-acid battery, and how to calibrate the setup to get accurate readings.
How it works?#
The PCF8591 ADC takes the reference voltage (Vcc) and measures the input voltage relative to it, outputting a value proportional to the fraction of the reference voltage. For example, if the reference voltage is 3.3 V (typical for a Raspberry Pi), and the input voltage is also 3.3 V, the ADC output will be 1.00 (100%). If the input voltage is 1.65 V, the output will be 0.50 (50%).
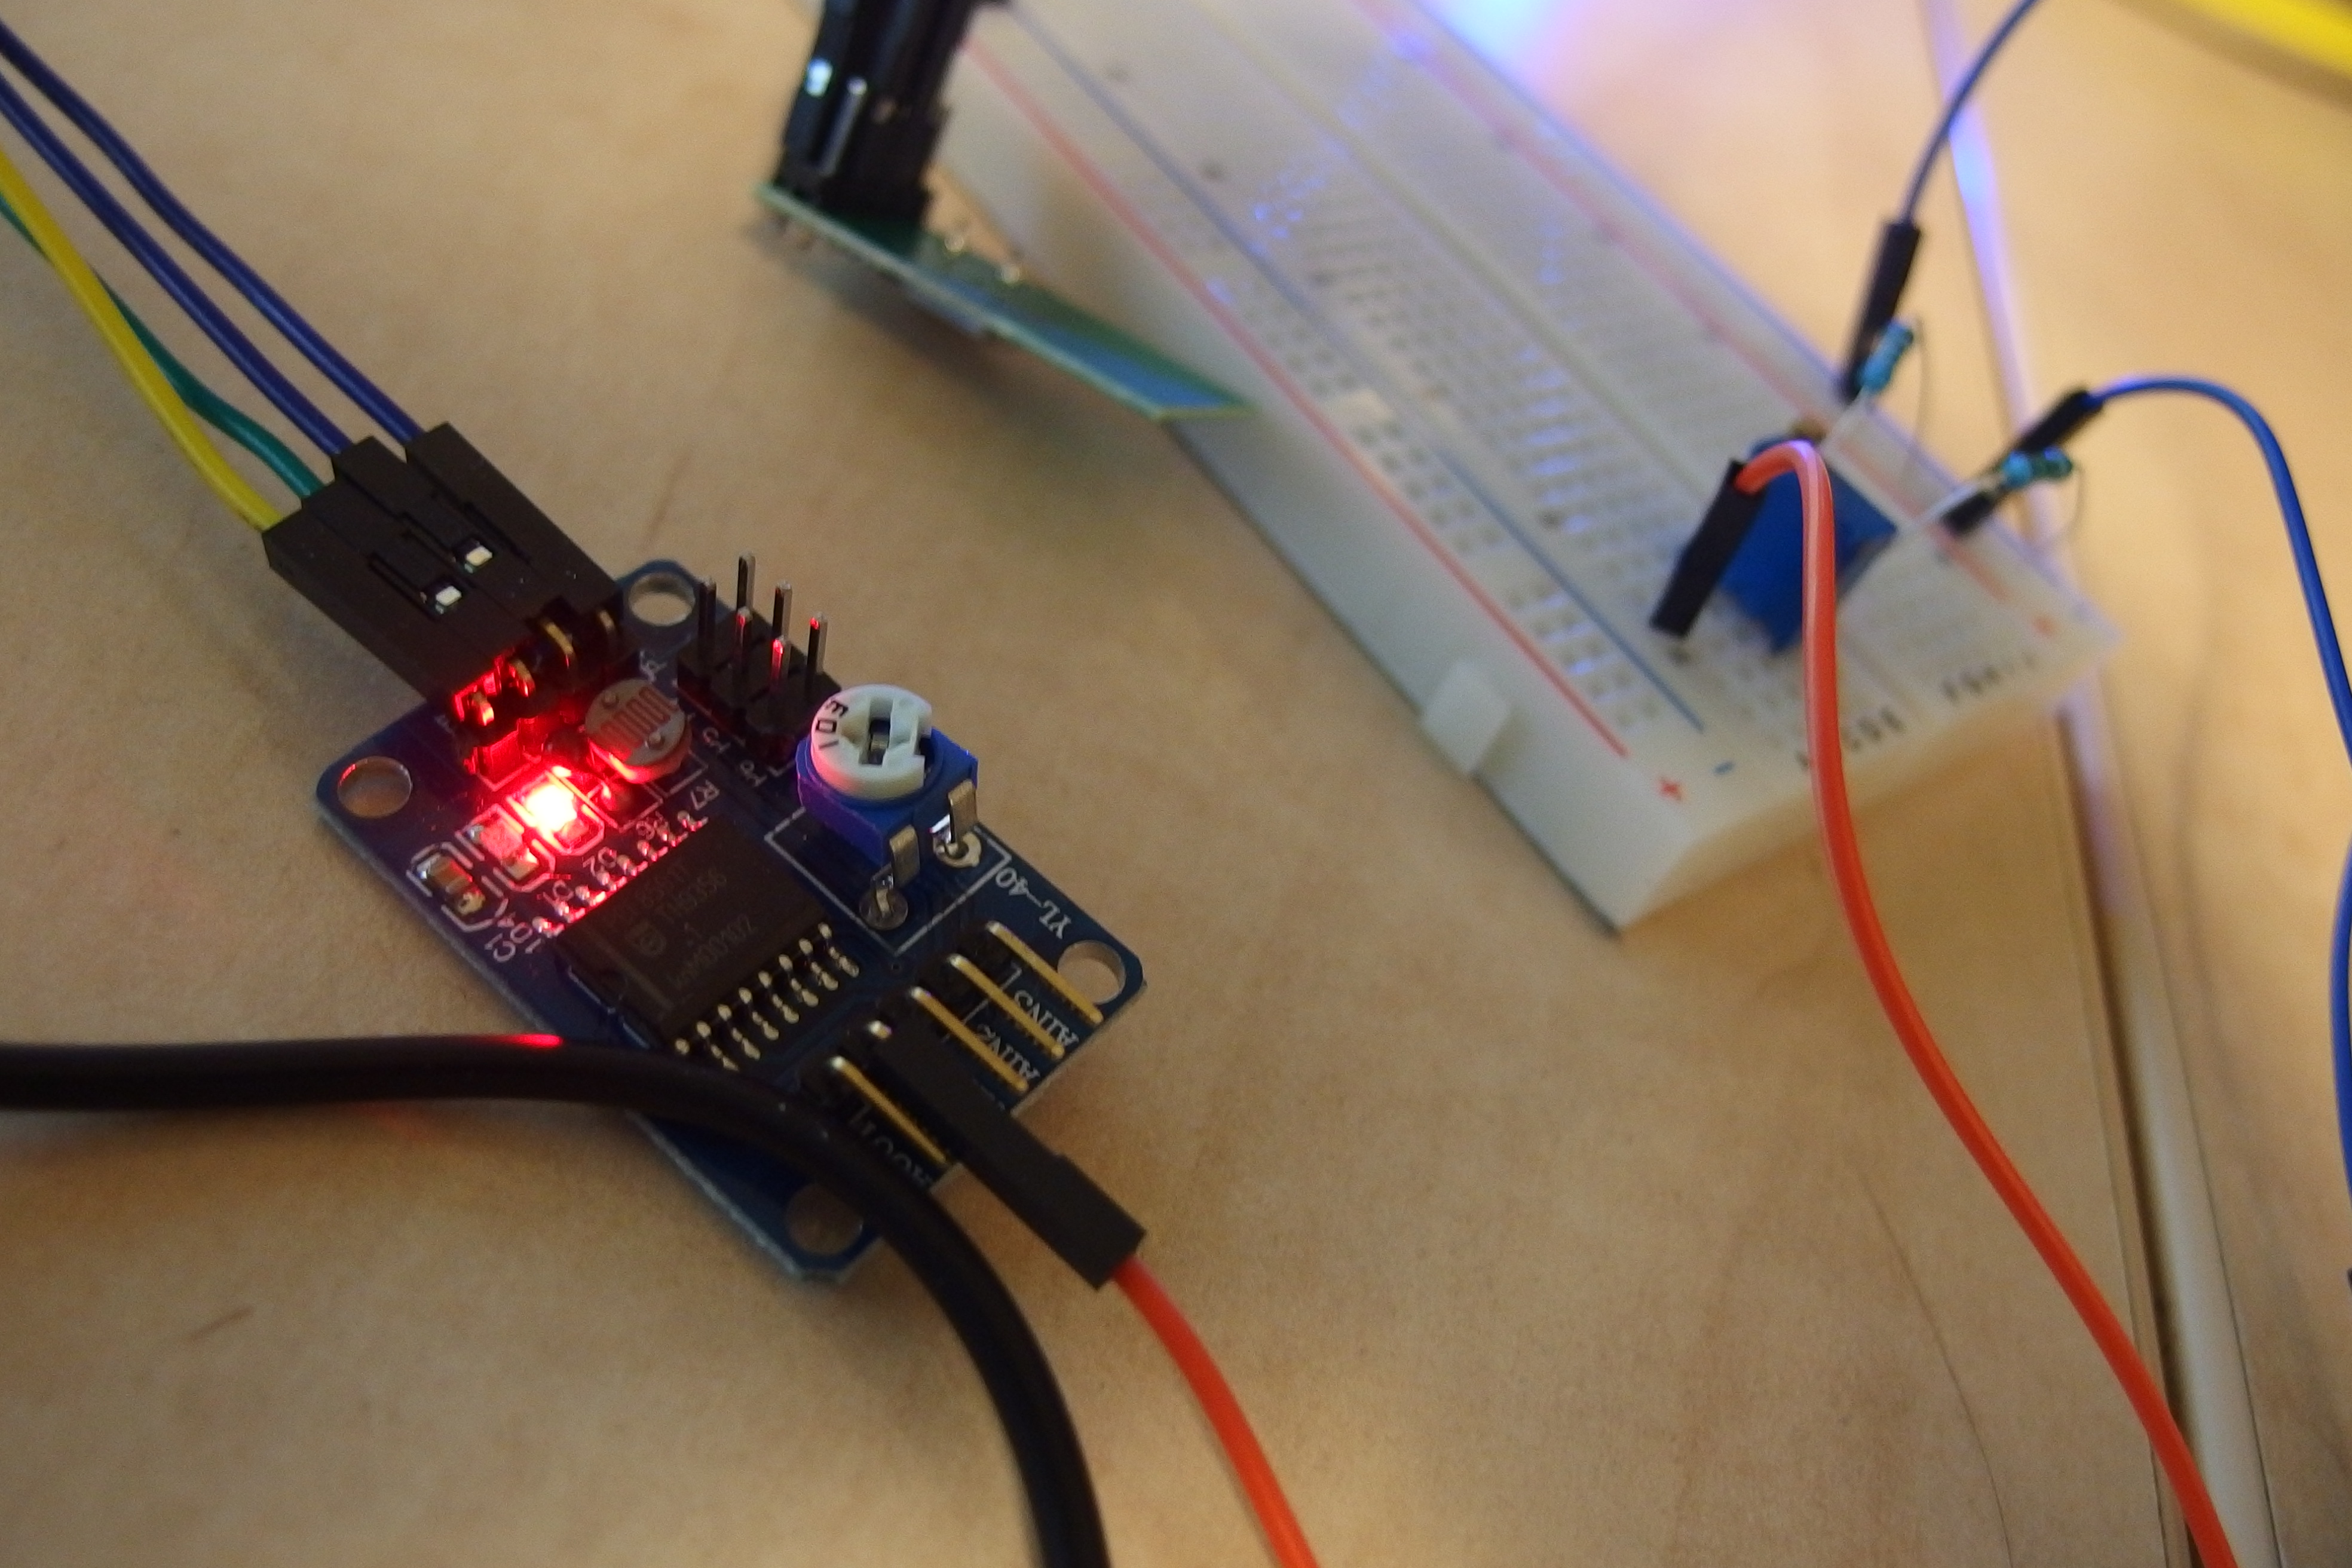
Since the Raspberry Pi’s reference voltage is only 3.3 V, measuring higher voltages directly is impossible. For instance, a lead-acid battery can have a voltage between 11 V and 14 V, much higher than 3.3 V. To solve this, a simple voltage divider is used to scale down the input voltage by a factor of 6. For a 12 V input, the voltage divider output will be 12 V / 6 = 2 V, which is safe and measurable by the ADC.
The actual input voltage can then be calculated by the formula:
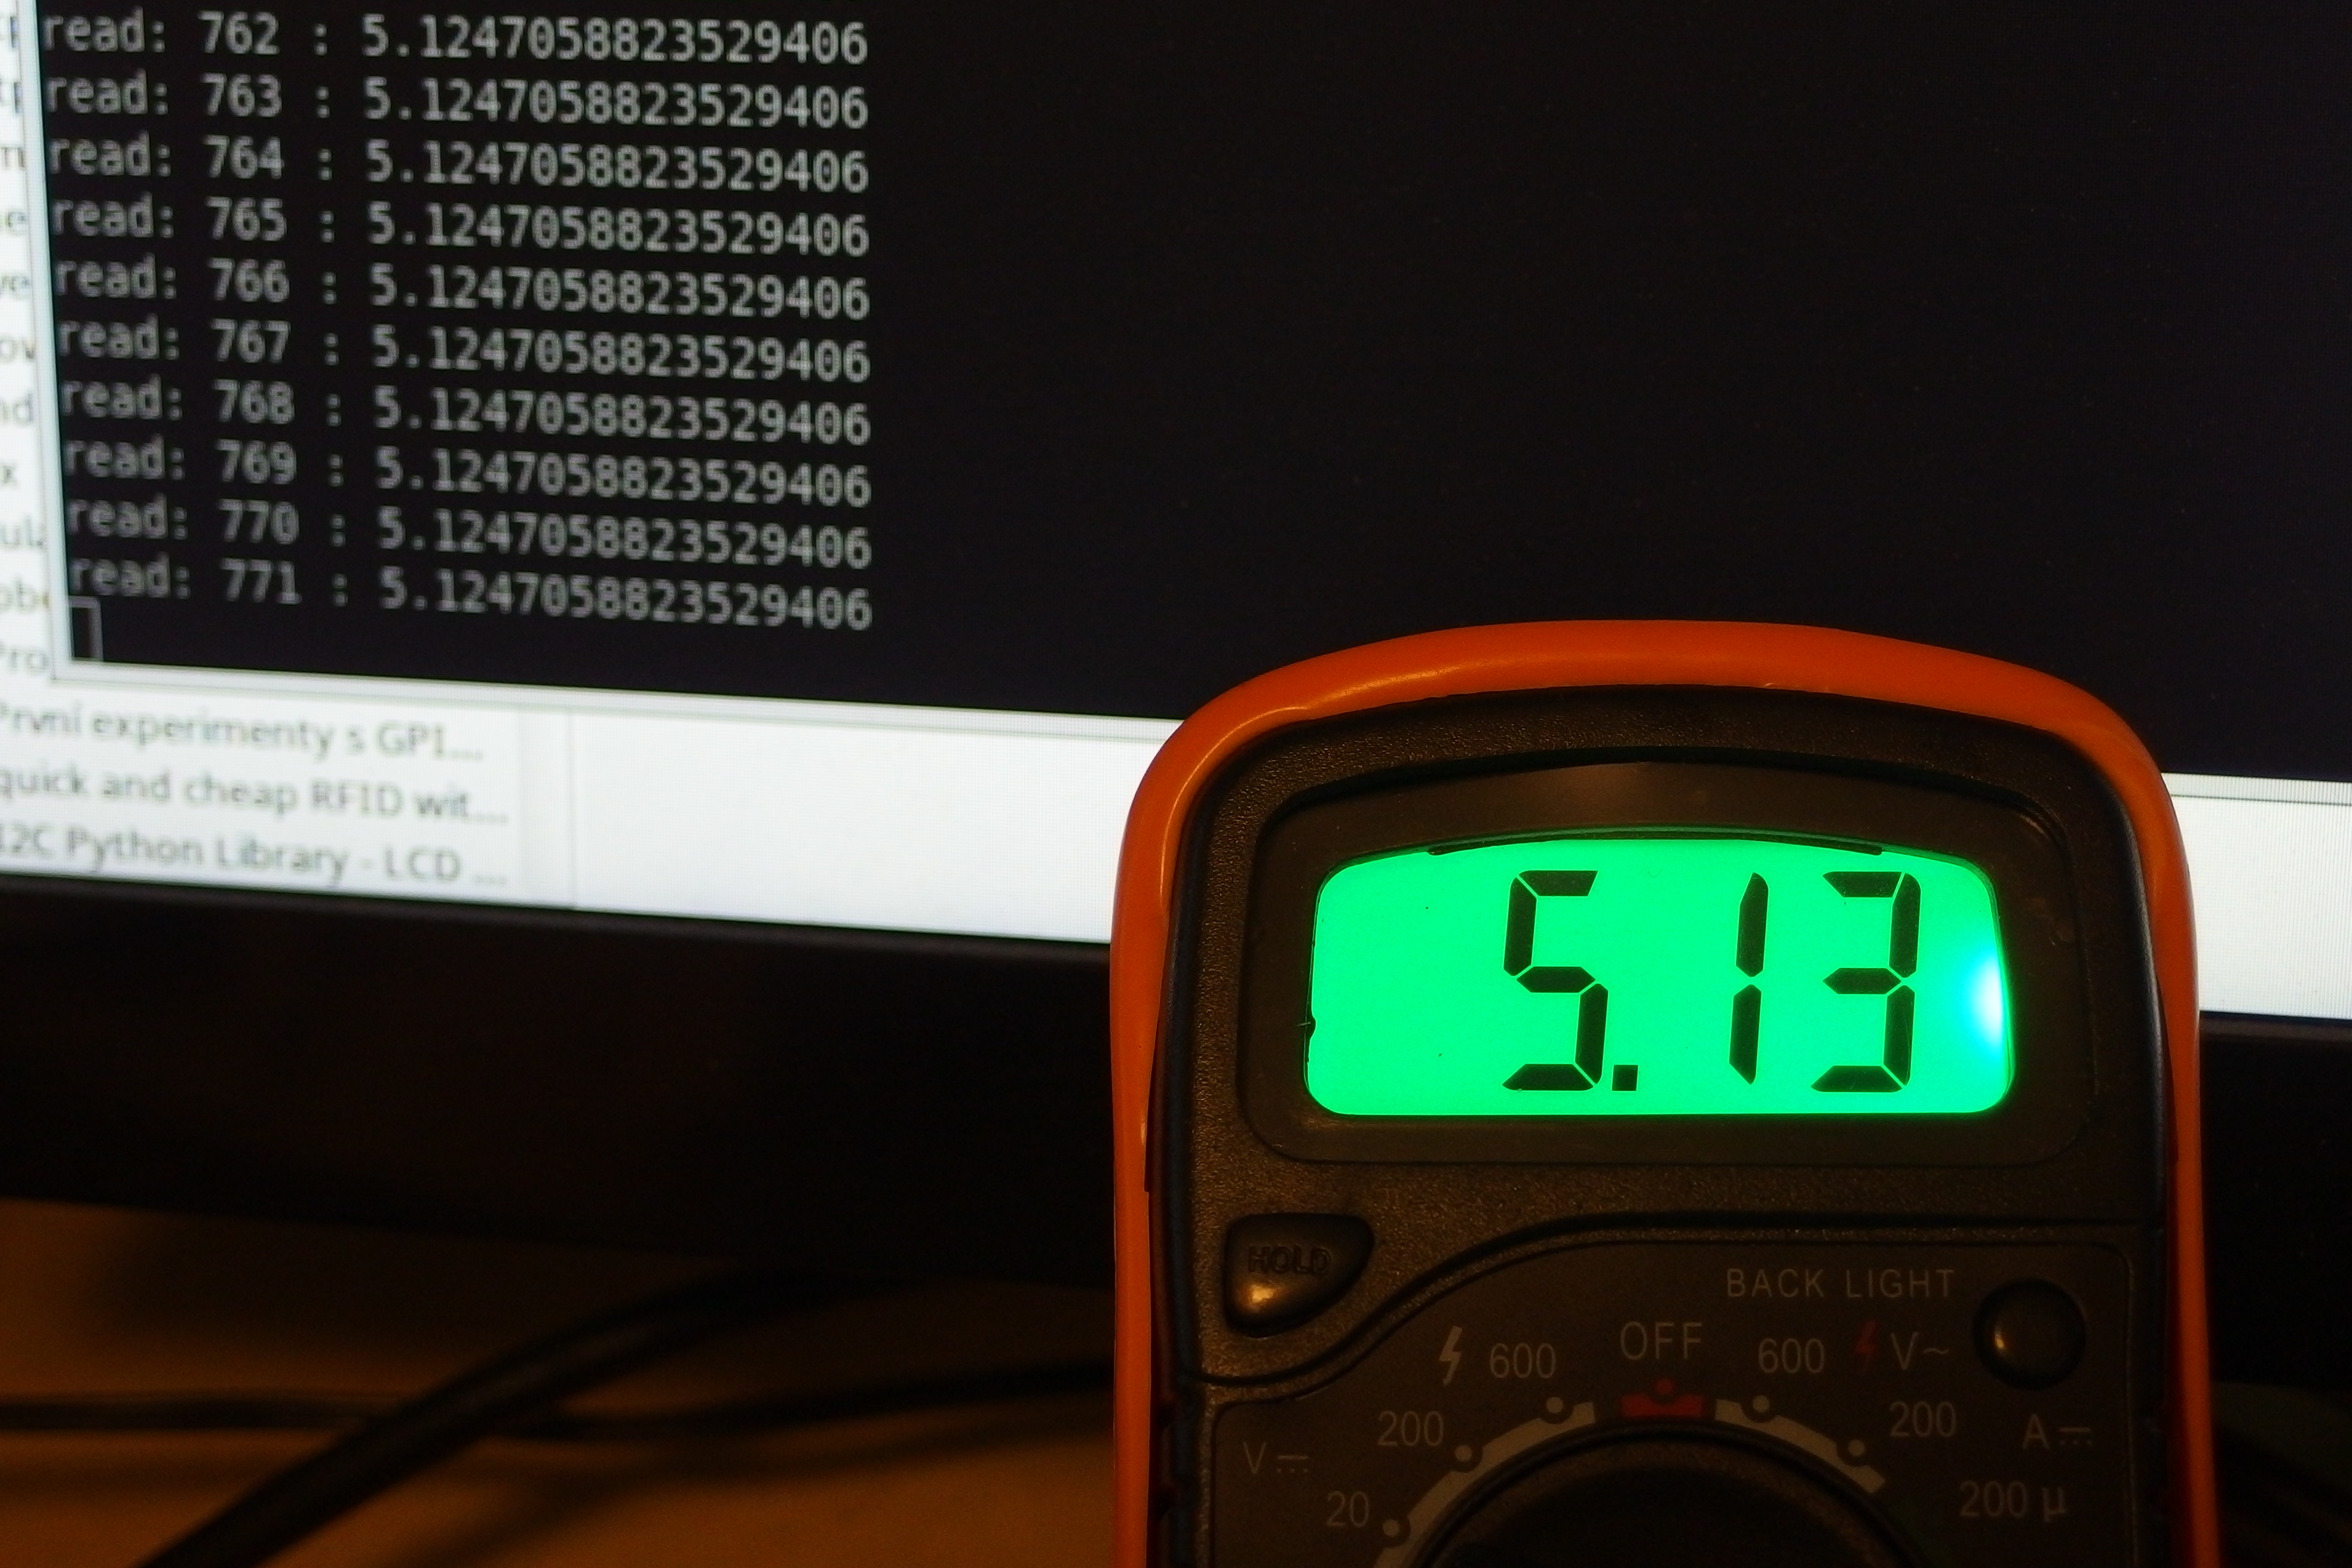
Voltage = ADC output x Ref Voltage x Divider Ratio
This gives the original voltage from the reduced measurement.
How to calibrate it#
Please use Voltage Divider Calculator to get values of resistors you need. I strongly recommend you to replace one resistor with trimmer resistor to calibrate it to right value.
For measuring voltage the best is to use quick2wire api library combined it with my prepared example github.com/ko…/ad_pcf8591/pcf8591read file pcf8591read which has these options:
ref_voltage = 3.3
divider = 6

where ref_voltage is the Raspberry Pi’s 3.3 V, and divider is the voltage division ratio selected with your resistors (6 in this example).
This setup provides an affordable and straightforward way to measure higher voltages like batteries using a Raspberry Pi and PCF8591 ADC.
Looking for a new opportunity as DevOps engineer
I am currently seeking a new opportunity as a DevOps Engineer, available from February 2026. I am open to remote or hybrid work from Prague, Czechia (Europe), for a long-term, full-time position or B2B contract - 300 EUR / daily. Please feel free to contact me for further details. You can also review my professional background on my LinkedIn profile.